Galaxy’s Edge is open and both Disney location now and I still haven’t gone. One of these days I will, maybe after Rise of The Resistance opens up. I know a few people that aren’t interested in the Star Wars land because there is only one ride (and one coming) and they aren’t really interested in the the ‘Immersion’ aspect. I understand their stance, but I do not share it with them. I’m excited for the immersion. I love the idea that there is a story happening actively in the park. I love that cast members aren’t just Disney employees that work in Star Wars land, but are in fact the residents of Black Spire Outpost. It’s why I used to Steampunk conventions, the idea of getting to leave this world and interact with a completely different yet familiar one.
Another interesting thing Disney is doing is encouraging cosplay in the park with very strict and not at all well defined costume rules for anyone over 10 years old (I think that is the children cut off). The example of what is allowed for adults consists of two Jedi costumes and two different Rey costumes even though the rules state you can be in the park dressed as a main character…whatever.

So what does this have to do with the title of this post? Well, after the parks opened I noticed a small wave of people turning their phone cases into things that looked like sci-fi props. They did this not only “cuz it’s rad” but because there are interactive things you can do with your phone in Galaxy’s Edge. Hence, the birth of the DataPad Builders Club.
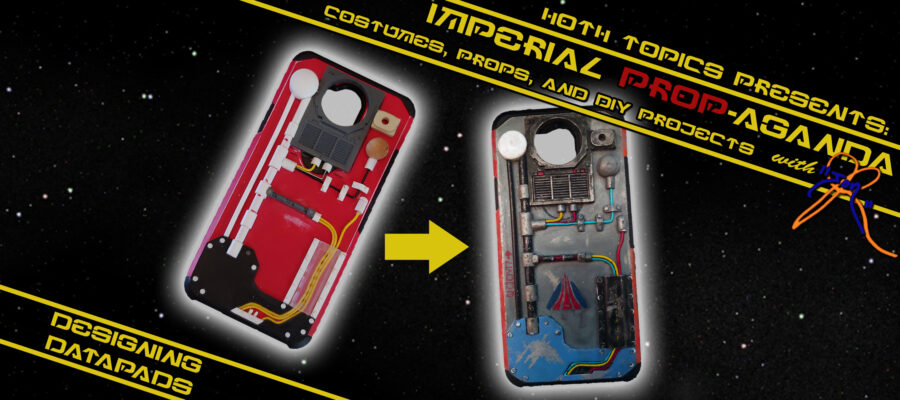
In this episode of Imperial Prop-A-Ganda, I’m going to show how I made mine and hopefully give you inspiration to go out, be creative, and make your own. This isn’t really a guide on how to make a datapad, just showing you what I did.
*Before I start, a friend of mine is a Disney Cast Member and had some reservations for the exposed wires on my design. She thought security may see it as an explosive device and they take that stuff very seriously. As they should. So, be aware of that when making yours.*
Tools and Supplies
- Cellphone Case (for a LG G7 Thinq)
- X-Acto Knife/Hobby blade (something sharp to cut)
- Super Glue
- Files/sandpaper
- Plasticard (Various Thicknessess)
- Sheets
- Tubes
- Rods
And most importantly…
- Miscellaneous bits and bobs.
- Random small objects with interesting shapes
- Paperclips.

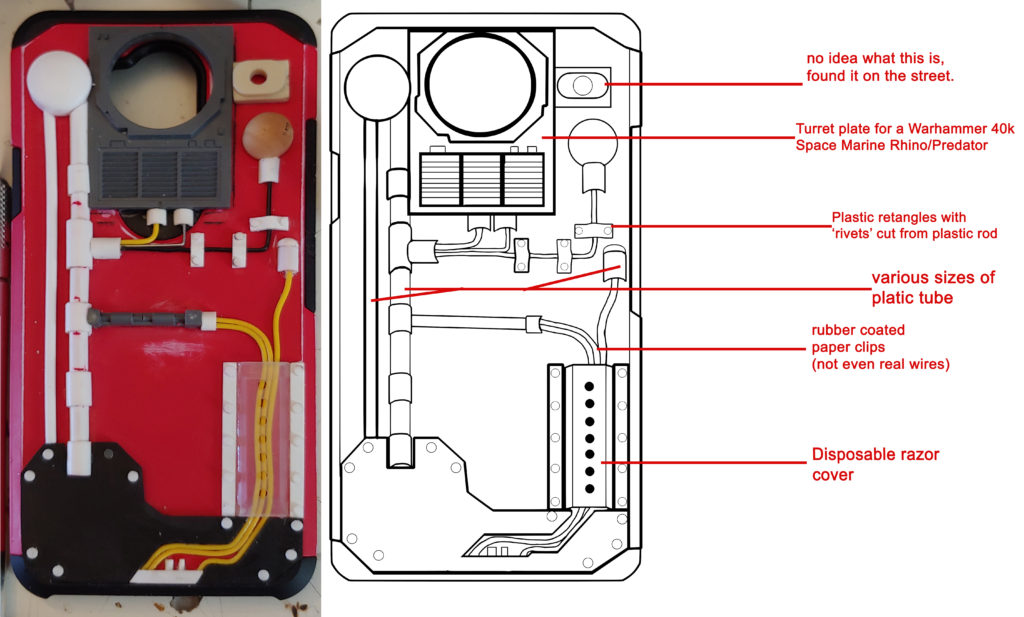
This is what I started with, a overly generic case off of Amazon that was maybe $5. Then the fun part, aimlessly sticking stuff on the case to see what felt right. To me, this really is the most fun. I have a couple of small boxes in my room filled with small scraps from past porjects, random things I’ve found on the street and model kit parts from various sources. What I ended up with is below:
The most difficult part of this was creating the ‘pipes’. They are tubes I needed to cut in half and on more than a few occasions the blade went a little wonky. The large black area at the bottom was just some scrap plastic lying around cut to shape. I’ve used jewel cases, old gift cards, or really anything plastic. For the wires I used rubber coated paper clips because they will hold the shape I bend them into better than actual wires would (ie; the yellow wires…which are wires). Also, be sure when making yours, you don’t completely your camera. I realized WAY TOO LATE I obstructed my flash lense, so now I can’t use my flash without extreme glare being reflected into the camera.
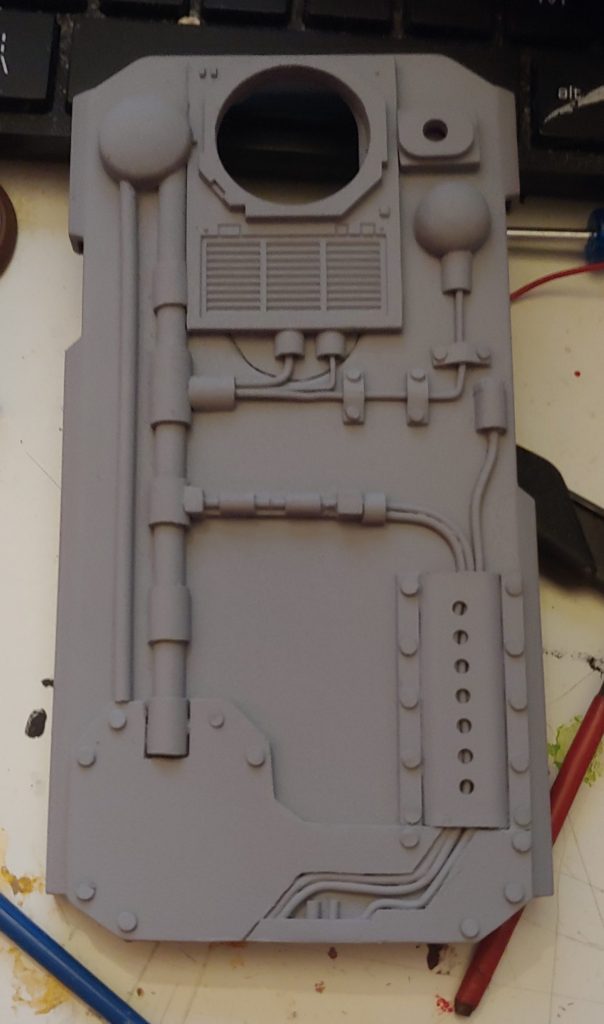
With everything in a place I like, I super glued it down and let it dry. Once it was sturdy I lightly sanded the whole surface to get it ready for the painting.
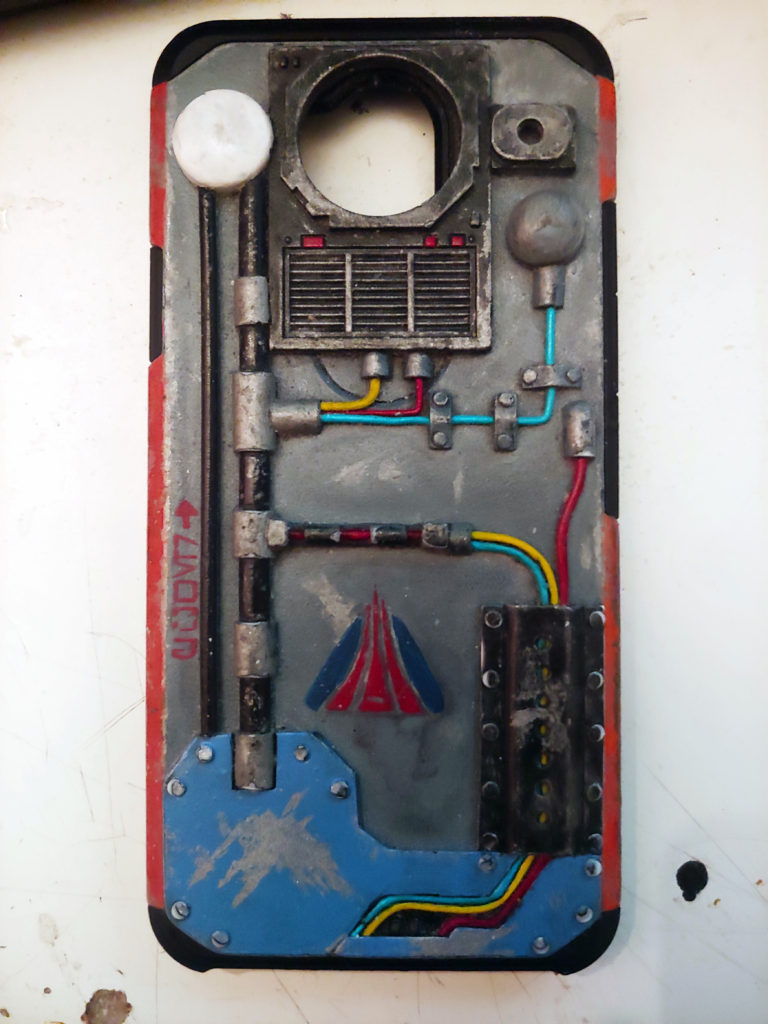
Look how “proppy” that looks in the classic Primer Gray. It looks like something that could’ve been stuck on a capital ship in the back ground of a space battle. With the primer layer on, I painted the whole thing black and then began had painting everything. I know what you are thinking; Yes, I painted the it gray, then black, then gray again. This gray was a slightly more metallic “pewter” gray with a little but of silver mixed in for that aforementioned metallic look. I wanted the theme of the paint to be that of an old Star Tours datapad (to go with my cosplay), so I painted the wires bright colors as well as using the blue and orange of Star Tours to accent certain areas.
With all the large areas painted, I went back in and dry brushed silver on the raised edges to give it that worn and scraped up look. Then to finish it off I covered it with a brown and then a black wash. This is a very watered down paint layer, it’s not thick enough to apply like regular paint , but there is enough pigment to leave “stains”. It also tends to accumulate on hard edges where dirt naturally would build up.
That’s it, I hope you got some ideas and will go out and do something creative. One great thing about this is that you don’t need it to look like a screen accurate prop. Make it look like dirty sci-fi, maybe add some Star Wars Easter eggs to it, but most importantly make it your own. If you look at it and it is Star Wars to you, that’s all that matters.
Thanks for stopping by again!
-Jon R
If you have any questions about the process or really anything in general, leave a comment below. You can also contact me through [email protected].
also @HothPod on that Twitter things you kids like.


