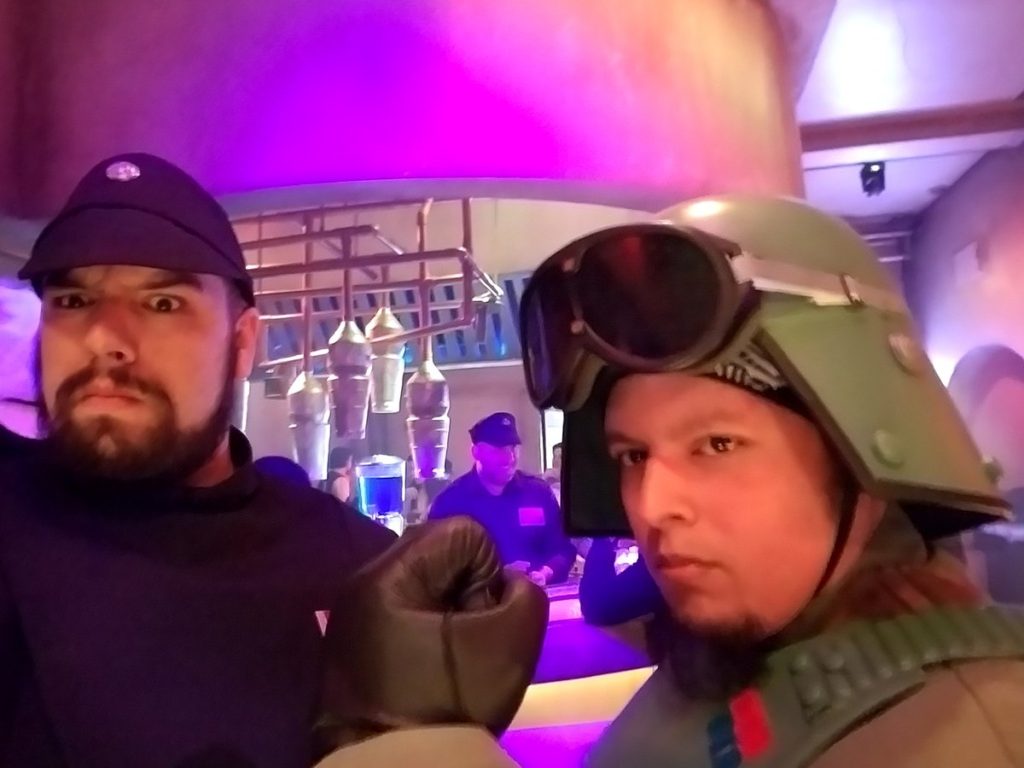
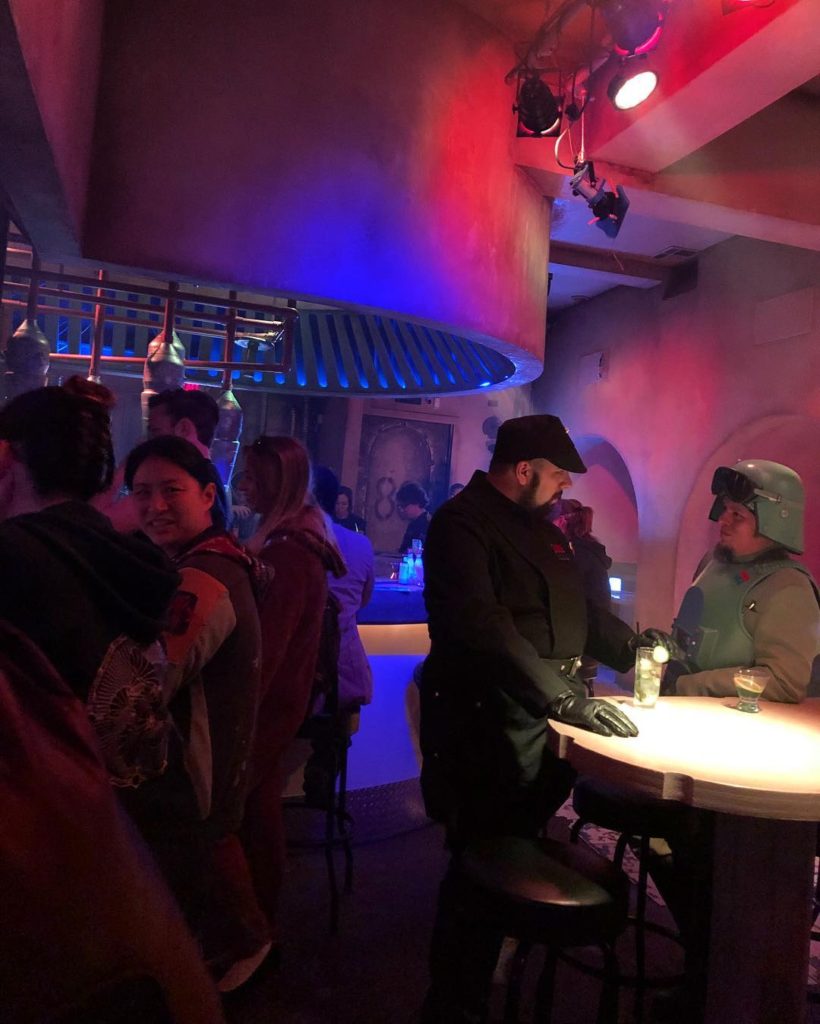
I meant to publish this a week ago. My Bad. I got way behind on my Star Tours costumes. Also Comic Con was happening. -jon
Well it’s the day before San Diego Comic Con and I didn’t get as far as I would have liked on the Star Tours Flight Crew outfits, so I’m gonna wrap up my General Veers Build today.
When we last met, the majority of the costume was complete with the exception of the back panel (which I used a Wampa Warning sign to cover for about a year). This year for Wondercon 2018, I wanted it to be as complete as possible.
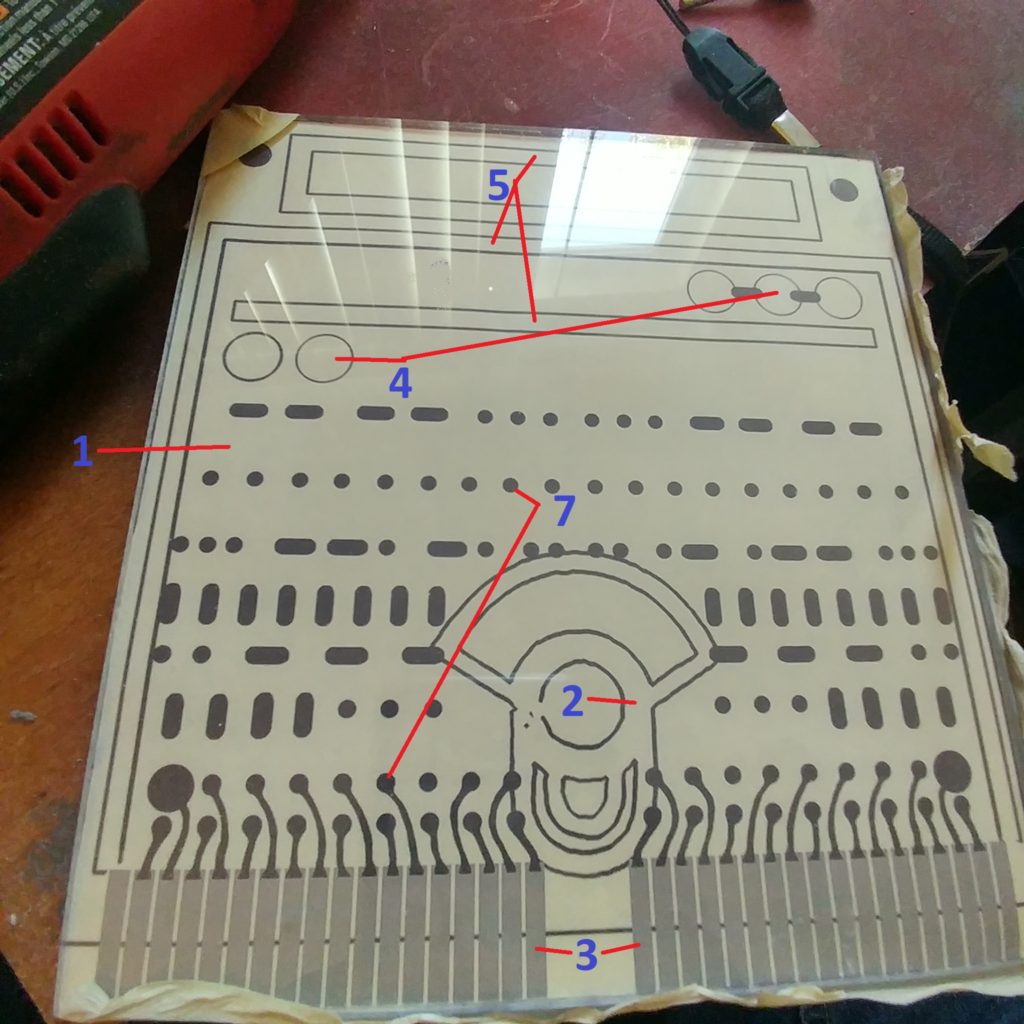
I mentioned before that there aren’t really any good screenshots of the back panel of Veers’ armor (its only on screen once and not really in focus). So I had to go out and scrounge references from action figures, armor kits made by fans, video games and well, anything I could get my hands on. From these sources I made a relatively correct template:
The above image is the different parts/aspects of the prop I would need to make.
- Plastic board, I used Lexan from Home Depot and cut it to the right size
- “Bottle Opener” greeblie – hand made
- Gold Metallic “circuit board” teeth – vinyl stickers
- Round discs – screw cap covers used on other parts of the armor
- More vinyl sticker bars, various colors
- I erased the number six. Please proceed to #7
- Black vinyl stickers
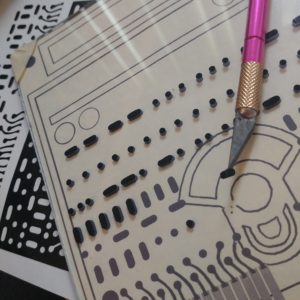
The first part I needed (that wasn’t the Lexan Plastic base) is available from multiple sources on the internet. I see it referred to as the ‘Bottle-Opener’. In realist it is part of a V6 model engine kit. Well, I really don’t like making online purchases or hunting down a 40 year old model kit for one part. What I do like is digging through the trash in my room for scrap plastic to fabricate my own props.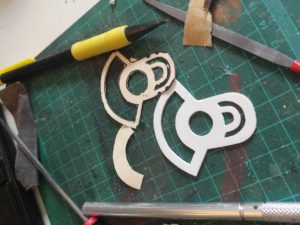 I printed off the just the Bottle Opener image and cut out the negative space. Glued it to some thick polystyrene plastic and cut out the shape using a Dremel. Then spent way too much time with a number of files to grind out all the delicate curves.
Next, I hit up our good buddy over at Trooperbay to help print out the vinyl decals I would need.
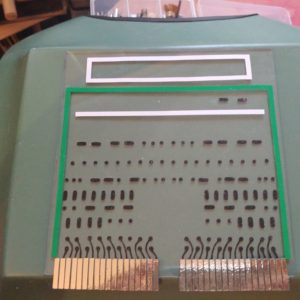
I needed:
- 1 white rectangle box
- 1 white bar
- 1 green ‘squared’ U-shape
- A multitude of black dashes and dots
- Slightly less gold bars/teeth (resembling computer card teeth)
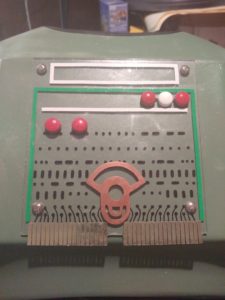
All the black stickers were applied on the reverse side of the Lexan sheet to give it a unfocused look and the rest applied to the outward facing side. I really like how the gold ‘teeth’ came out. With the decals applied. I glued on the screw caps and the Bottle Opener. The Bottle Opener I painted bronze/copper-ish. There a few different colors reported out there, so I picked one that looked as close to the screenshot from Empire Strikes Back. Then the whole thing was attache do the back armor using Chicago Screw. One day I’ll replace them with rivets.
Now that the back is finished, I just needed to do two more things.
- Metal Spine greeblie on the back of the helmet
- Modify the shoulder straps from generic TK/Stormy design to resemble the Snowtrooper style.
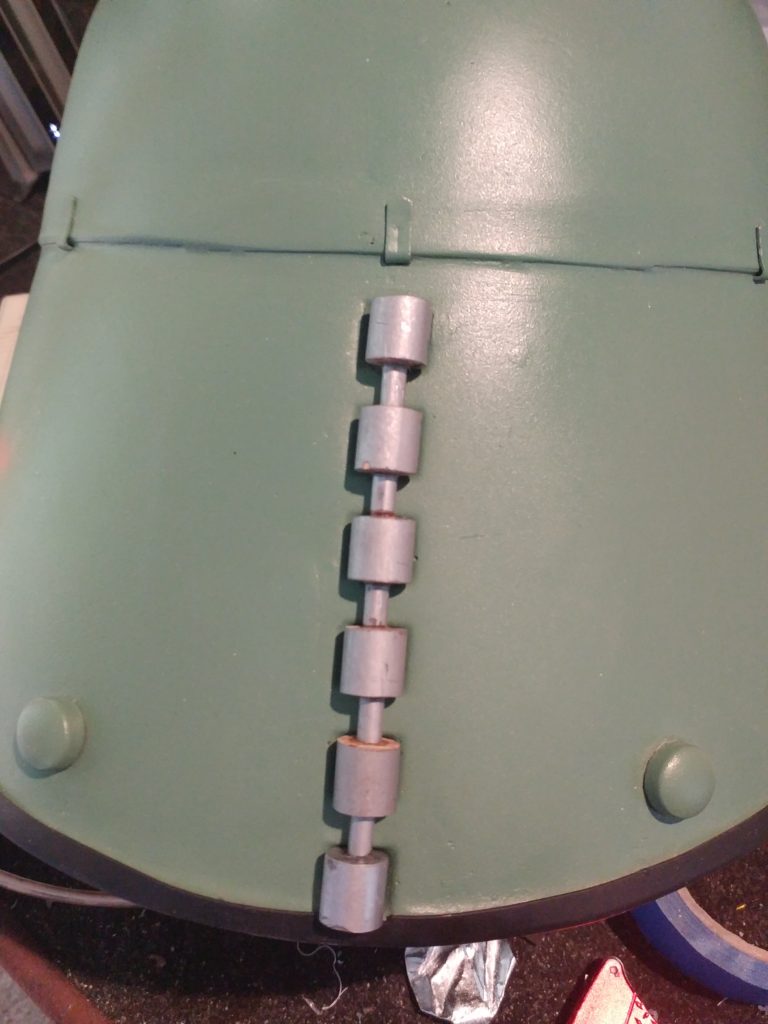
For the spine on the back of the helmet the standard option is to pick up a set of CNC aluminum ones from a few resources, I like ElvisTrooper, you can get many cnc’d greeblies from him. This is wear Ian and I got our Code Disks for his Imp officer build (hat and belt). I don’t like ordering stuff (as mentioned above). So I made my own from 6 sections of 3/4″x 1/2″ (I think) wooden dowel. With 5 sections of another wooden dowel between them. This was scrap wood i had lying around and have no idea the dimensions. The back of the helmet is casted with grooves in it for the larger cylinder parts so I was able to use this gaps to guess-timate the lengths that needed to be cut.
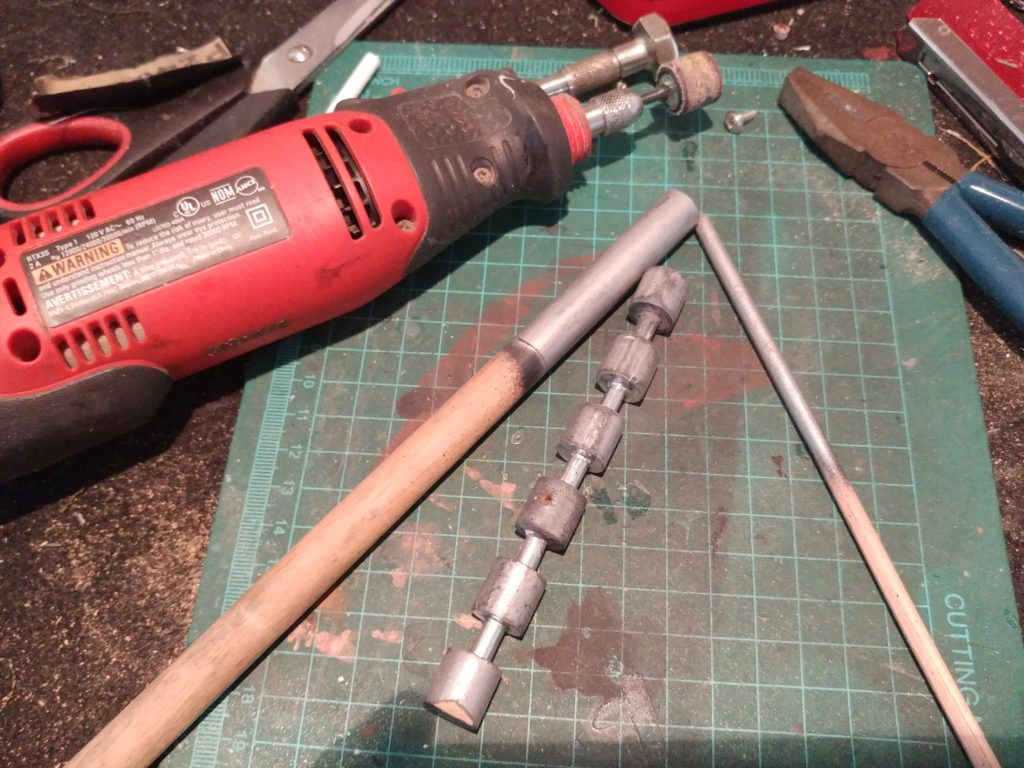
With the length of the spine figured out a glued all the pieces together and hit it with Primer coat, then a Gloss Black coat, and finally a Metallic Silver coat. When that dried, I attached it to the helmet with epoxy on the upper and lower gaps and a screw through the helmet in the middle.
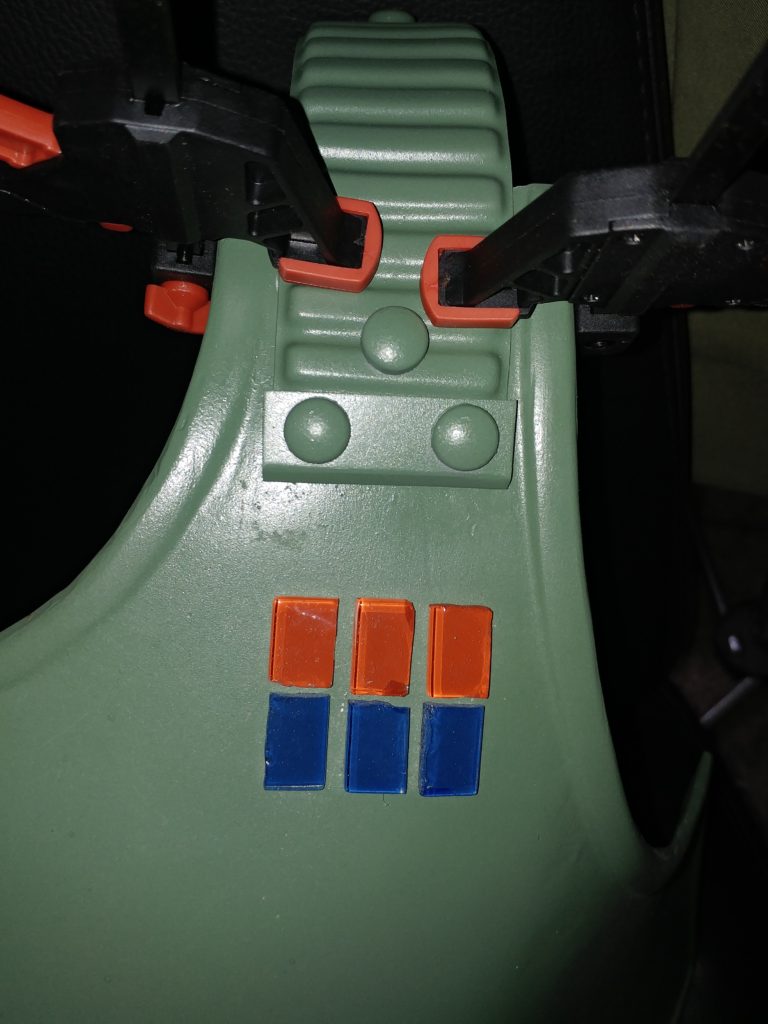
And to Wrap up this whole thing, I just needed to slightly modify the shoulder straps. Pretty simple job. All I needed to do was cut off the forward bottom 2 inches of the straps I had, and replace it with the piece show in the below picture. That rectangular piece was created with scrap plastic and slightly bent lower. Then two screw caps glued on the corners. Easy Peasy.
And that’s it! Veers is ‘done’. There is a ton of small things I can fix or correct, but I think it looks pretty darn good.
And since I didn’t post this until after San Diego Comic Con 2018, I have a ton of pics to share!
Just kidding. I totally didn’t take any of myself. Other people did though. Just not me. If you see them online let me know! As you will probably hear in the Hoth Topics Episode about this Con, I was a little off all weekend. So as a consolation prize, here’s a couple pictures from the Solo Premiere:
Alright, let’s see if I have the energy to type up the rest of my Star Tours costume build….
-Jon

